Custom Content Parts - Tutorial
You can create module projects to be included with your site; these projects contain custom content parts that can display segments of your data entities to display the data in different ways. This section shows you a full tutorial of how to create a module project containing a custom data display content part that can be packaged to include in your site.
Create a module project
The first step is to create a project that will contain all the custom content parts for your site. On your development machine, ensure that the Orchard “Code Generation” module has been enabled. In windows explorer, navigate to the Orchard.Web root directory and select the “bin” folder. Shift-Right click on the folder and select “Open command window here”. This opens a command line window with the path already set to the Orchard.Web\bin folder.
To start an Orchard command line, type:
orchard.exe
You will be given the message “Initializing Orchard session...” Create a new module with the command:
codegen module [[Name of module]]
Then open your solution and include the newly created project file (created in the Orchard.Web\Modules directory)
Modify the module.txt file
The most important amend to the generated module.txt file is to add a dependency to NetworkedPlanet.DataPlatform.Orchard. At the same time you can amend the name, description and other fields:
Name: Movie Content Parts
AntiForgery: enabled
Author: My organisation
Website: http://www.myorganisation.net
Version: 1.0
OrchardVersion: 1.8
Description: Adds custom content parts for movies to my Data Platform
Dependencies: NetworkedPlanet.DataPlatform.Orchard
Category: Data Publishing
Note
For the purposes of this walkthrough, we’ll use example data that contains information about movies. This content part will grab basic information about the movie (Release Date, Language, Official Website) and will be used on a page that will display movie information (the Movie resource has a Type set which has been mapped as explained earlier).
1. Create a model for this Content Part
The data that is displayed by the Content Part is stored in the BrightstarDB datastore rather than the Orchard CMS database, so we do not require a Content Record. However we still require a Content Part to drive the display, so we add a class named MovieAdditionalInfoPart.cs to the Models folder:
    public class MovieAdditionalInfoPart : ContentPart
{

    public DateTime ReleaseDate { get; set; }

    public string Language { get; set; }

    public string Duration { get; set; }

}
2. Create a driver
Add a class named MovieAdditionalInfoDriver.cs to the Drivers folder (which you may need to create if the directory does not already exist):
public class MovieAdditionalInfoDriver : ContentPartDriver<MovieAdditionalInfoPart>
{
        private readonly IOrchardServices _orchardServices;
        public ILogger Logger { get; set; }

        public MovieAdditionalInfoDriver(IOrchardServices orchardServices)
{
    _orchardServices = orchardServices;
}

        protected override DriverResult Display(MovieAdditionalInfoPart part, string displayType, dynamic shapeHelper)
        {

        }
}
Note
This driver does not need the Editor methods as this driver’s only purpose is to display data
3. Add project references
Add two references to the DataPlatform assemblies by browsing to the bin directory of the Data Platform module and adding:
- NetworkedPlanet.DataPlatform.Orchard
- NetworkedPlanet.DataPlatform.ServiceInterface
4. Add code to the driver
In the Display method, add the following to get the resource from HttpContext items:
var resourceModel = _orchardServices.WorkContext.HttpContext.Items["ResourceModel"] as IStoreResource;
if (resourceModel == null)
{
        Logger.Warning("No resource found for display");
return null;
}
var releaseDate = ResourcePropertyHelper.GetDateTimeValue(resourceModel.Properties, "http://schema.org/releaseDate");
var language = ResourcePropertyHelper.GetStringValue(resourceModel.Properties, "https://schema.org/inLanguage");
var duration = ResourcePropertyHelper.GetStringValue(resourceModel.Properties, "https://schema.org/duration");

if(releaseDate != null) part.ReleaseDate = Convert.ToDateTime(releaseDate);
part.Language = language;
part.Duration = duration;

return ContentShape("Parts_MovieAdditionalInfo",
                        () => shapeHelper.Parts_MovieAdditionalInfo(Part: part));
5. Define the Content Part in the Orchard Data Migrations file
Create a new class named Migrations in the root of your project and inherit from DataMigrationImpl. We then add a definition that will allow this Content Part to be attachable to any Content Definition that is created in the Orchard CMS:
    public class Migrations : DataMigrationImpl
{
    public int Create()
    {
        ContentDefinitionManager.AlterPartDefinition("MovieAdditionalInfoPart", cfg => cfg
           .Attachable()
           .WithDescription("Displays release date, duration and language of the loaded movie resource"));

        return 1;
    }
}
6. Add a view
Create a file named MovieAdditionalInfo.cshtml in Views/Parts.:
    <section id="movie-add-info">
@{
    if (Model.Part != null)
    {
        <dl>
            <dt>Release Date</dt>
                @if (Model.Part.ReleaseDate != null)
                {
                    <dd>@Model.Part.ReleaseDate</dd>
                }
                else
                {
                    <dd>Unknown</dd>
                }
            <dt>Language</dt>
                @if (!string.IsNullOrEmpty(Model.Part.Language))
                {
                    <dd>@Model.Part.Language</dd>
                }
                else
                {
                    <dd>Unknown</dd>
                }
            <dt>Duration</dt>
                @if (!string.IsNullOrEmpty(Model.Part.Duration))
                {
                    <dd>@Model.Part.Duration</dd>
                }
                else
                {
                    <dd>Unknown</dd>
                }
        </dl>
    }
}

    </section>
6. Set the Placement
Create a file named Placement.info in the root of the module project and add the following:
<Placement>
  <Place Parts_MovieAdditionalInfo="Content:5"/>
</Placement>
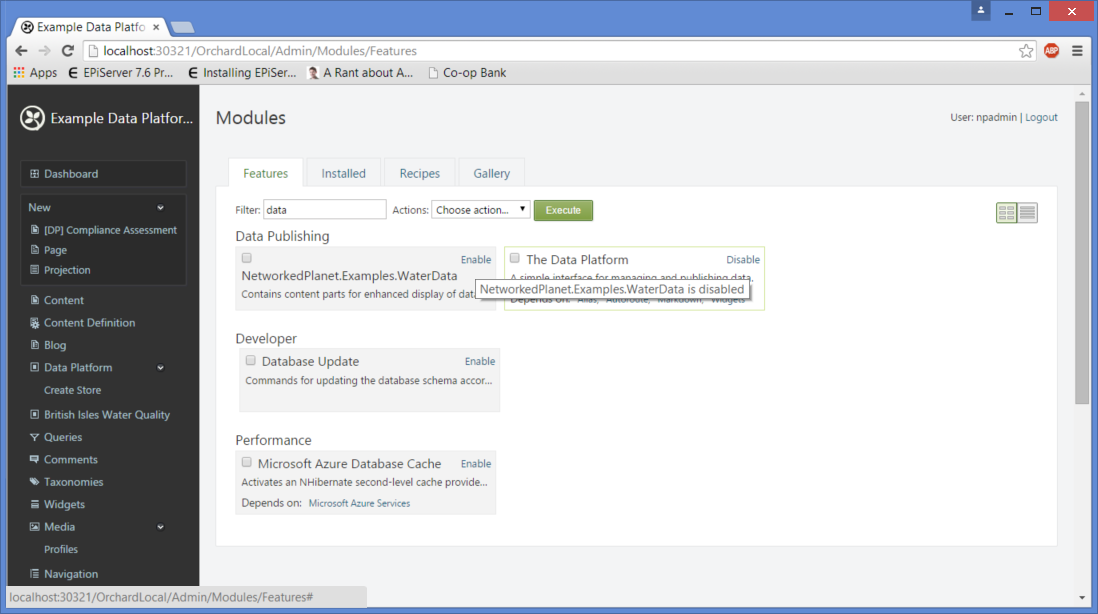
7. Enable the module
Build and run your site solution to view your development site. Navigate to the Modules section and enable the module which can be found in the Data Publishing section.
7. Add part to content definitions
You can now add the Content Part to content definitions you created in the previous section, Content Definitions.
Navigate to the Content Definitions and click edit on the definition you want to add the part to. Select “Add Parts” and select the Sampling Point part from the list, then hit Save.

If you are unsure of the predicates and/or the full URI of the reference dataset, you can use the BrightstarDB explorer tool, Polaris, to query the data and find the correct values.
Now any resources with the class matched in the “Data Platform Class Mapping” of the content definition, will display the Sampling Point content part to the user.