Getting Started
The standard Web3 platform installation is provided in two separate ZIP files, one for 32-bit systems named Web3_{version}_x86.zip, the other for 64-bit systems named Web3_{version}_x64.zip. To begin the installation process, extract the contents of the ZIP file that is appropriate for your system to a temporary directory. Enter that directory and go to the sub-directory named Database. In that directory, double-click on the setup.exe file to run the installer.
Web3 Database Installation
When the Web3 Database setup runs use the Next and Back buttons to navigate through the installation process. The installation process includes the normal splash-screen and license dialogs. The following text describes the other, custom dialogs that you will see during the installation process.
Choose Setup Type
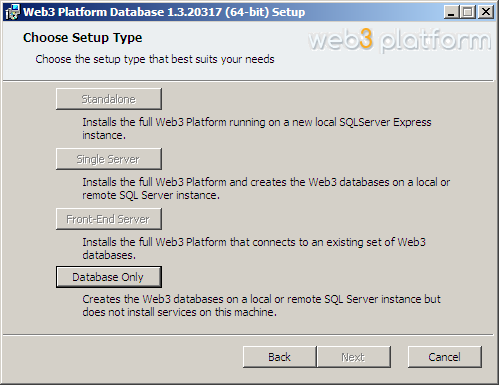
Click on the the Database Only option to proceed. It should be the only option allowed on this screen.
SQL Server Information Dialog

Enter the name of the SQL Server instance where the databases are to be created. If the databases are to be installed on the local machine you can use "localhost" as the Server Name. With Use Integrated Security checked, the installer will use the account you are logged in as to connect to the server and create the databases. Alternatively you may uncheck Use Integrated Security and provide a SQL Server user name and password (NOT a Windows user account) to use SQL Server authentication instead.